 Ekani Ella
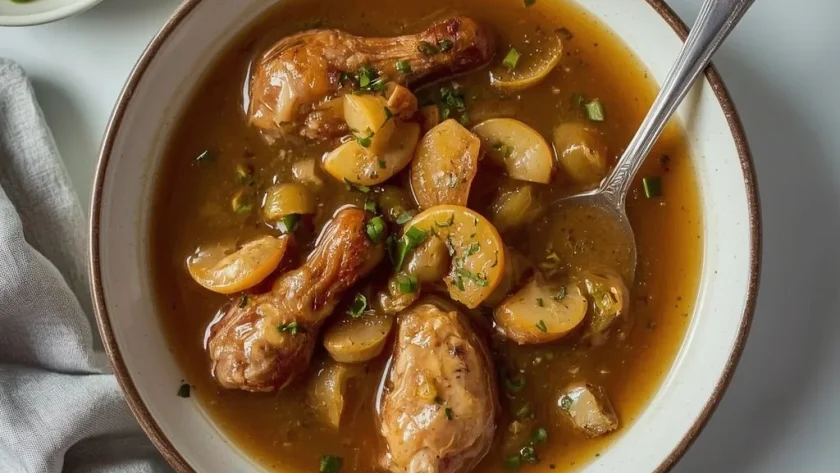
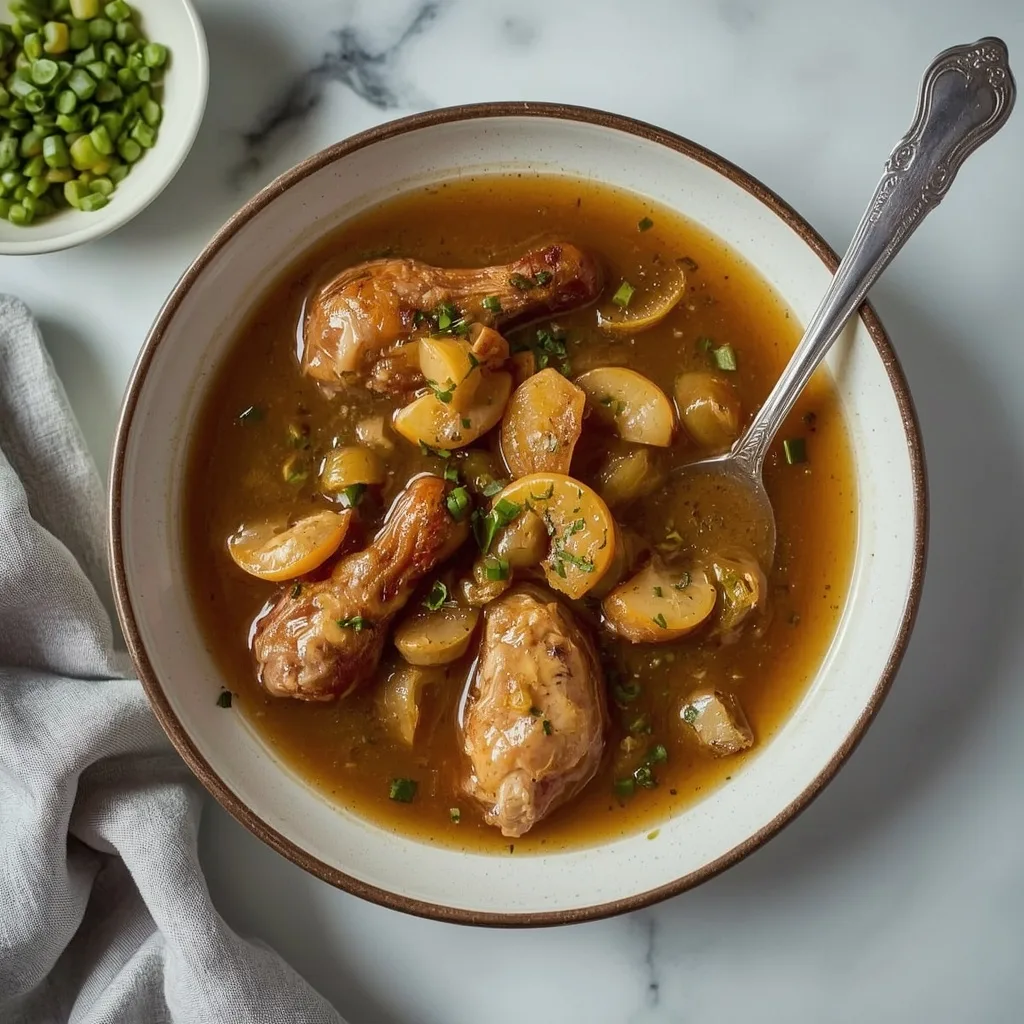
Jamie Oliver Make-Ahead Turkey Gravy is a glossy, deep-brown sauce built from roasted turkey wings and caramelised vegetables, and it tastes like proper roasted meat rather than salty stock from a jar. The method borrows from classic British gravy-making: roast, simmer, strain, then thicken with a butter-and-flour roux until it coats the back of a spoon.
Total time is 110 minutes — 20 minutes of prep and 90 minutes of cooking — and the difficulty sits at beginner to intermediate. It is made for Thanksgiving, Christmas dinner, or any holiday feast where the oven is already groaning. The one step worth watching is the roux; let it catch too much colour and the finished gravy turns bitter.
What is Jamie Oliver Make-Ahead Turkey Gravy
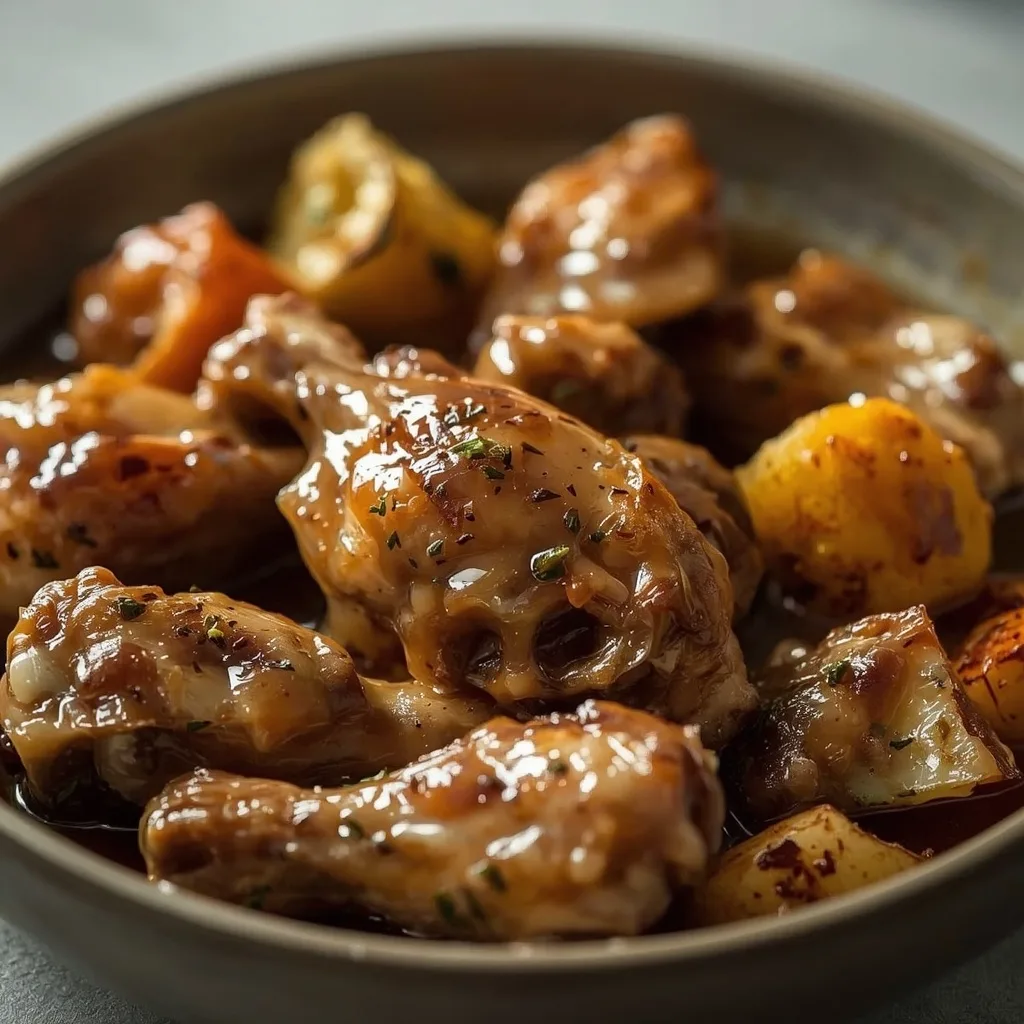
This is a rich, savoury gravy made from roasted turkey wings rather than pan drippings. Onion, carrots, celery, and unpeeled garlic roast alongside the wings until deeply caramelised, then everything simmers with chicken broth, water, thyme, and a bay leaf. The liquid gets strained, then thickened with a simple roux of butter and all-purpose flour. What you end up with is silky and lump-free, with a flavour that sits somewhere between roast dinner and a proper stock — meaty, savoury, and gently herby.
Why You Should Try This Recipe
- Zero last-minute panic — you make it up to 3 days before the meal, so the bird gets your full attention on the day.
- Deep roasted flavour — browning the wings and vegetables first does more for the taste than any amount of seasoning later.
- Freezer-friendly — it keeps for up to 3 months, so you can batch it well ahead of the holiday rush.
- Consistently smooth results — whisking broth in gradually means no lumps, even for first-timers.
- Feeds a crowd economically — wings are cheap, and 4 cups of chicken broth stretch them into roughly 5 cups of finished gravy.
Ingredients Needed to Make Jamie Oliver Make-Ahead Turkey Gravy
Most of this list is pantry basics you probably already have. The only thing worth a special trip is the turkey wings.
For the Roast
- 2 lb turkey wings (about 2 whole wings) — the backbone of the whole dish; ask the butcher to split them if you can, as they brown more evenly.
- 1 tbsp olive oil — helps the vegetables caramelise without sticking; any neutral oil works.
- 1 medium onion, roughly chopped — sweetness and body; a white or brown onion is fine here.
- Carrots, roughly chopped — adds natural sweetness and a golden tint; no need to peel if scrubbed clean.
- 2 celery stalks, roughly chopped — classic stock aromatics; use the inner stalks for a milder flavour.
- 4 garlic cloves, unpeeled — roasting in the skin keeps them sweet rather than sharp.
For the Gravy Base
- 2 tbsp all-purpose flour — thickens the gravy; plain flour, not self-raising.
- 4 cups low-sodium chicken broth — low-sodium lets you control the final seasoning.
- 2 cups water — stretches the broth without diluting it too much.
- 2 sprigs fresh thyme — a herby note; dried works at half the quantity if needed.
- 1 bay leaf — subtle background depth.
- 1/2 tsp kosher salt — adjust at the end, as the broth and reduced liquid concentrate salt.
- 1/4 tsp freshly ground black pepper — freshly cracked makes a real difference here.
- 2 tbsp unsalted butter, cold, cut into cubes — for the roux; cold butter melts more slowly and gives a smoother finish.
Equipment Needed
Nothing unusual here — a standard kitchen covers it.
- Large roasting pan — needs to hold the wings and vegetables in a single layer so they caramelise rather than steam.
- Large stockpot — for the simmering stage; anything 5 litres or bigger works.
- Fine-mesh sieve — essential for a smooth gravy; a colander with a muslin lining is a decent stand-in.
- Saucepan — a clean pan for the roux, so the butter doesn’t pick up any leftover pan residue.
- Balloon whisk — the flat-edged kind tends to miss corners where lumps form.
Instructions to Make Jamie Oliver Make-Ahead Turkey Gravy
The whole process breaks into three stages: roast, simmer, thicken. Follow them in order and the timing works out.
- Preheat and season — heat the oven to 400°F (204°C), pat the wings dry with paper towels, and season generously with kosher salt and black pepper.
- Build the roasting pan — toss the chopped onion, carrots, celery, and garlic with olive oil, then set the wings on top so their juices drip down onto the vegetables.
- Roast for 45–50 minutes — you want golden-brown wings and caramelised, tender vegetables. Turn the wings once at the halfway point.
- Deglaze the pan — move the wings and vegetables to a stockpot, then pour 1 cup of chicken broth into the hot roasting pan and scrape up the browned bits with a wooden spoon. Add that liquid to the pot.
- Simmer the broth — add the remaining broth, water, thyme, and bay leaf. Bring to a boil over high heat, then drop to low and simmer uncovered for 30 minutes.
- Strain carefully — pour through a fine-mesh sieve into a bowl, pressing on the solids to extract everything. You should have about 5 cups of broth. Discard the solids.
- Make the roux — melt the butter in a clean saucepan over medium heat, whisk in the flour, and cook for 1–2 minutes until pale golden and nutty-smelling. Do not walk away; it turns brown fast.
- Add the broth gradually — whisk it in around 1/2 cup at a time until smooth, then simmer for 5–7 minutes, whisking occasionally, until it coats the back of a spoon.
- Season and adjust — taste for salt and pepper. Too thick? A splash of water or broth fixes it. Too thin? Simmer a few minutes longer.
- Cool and store — let it cool completely, then transfer to an airtight container and refrigerate up to 3 days, or freeze up to 3 months.
- Reheat to serve — warm it over medium-low heat, whisking until smooth and hot. Thaw frozen gravy overnight in the fridge first.
What Goes Well With Jamie Oliver Make-Ahead Turkey Gravy
You’ve got the sauce sorted. These serve alongside it best.
- Roast turkey — the obvious one, and the gravy’s meaty depth is built for it.
- Mashed potatoes — fluffy mash soaks up gravy better than any other side.
- Roast potatoes — crispy edges plus a pour of gravy is the classic British combination.
- Stuffing balls — the sage in stuffing plays well against the thyme in the gravy.
- Yorkshire puddings — a Sunday roast staple that’s practically designed to hold gravy.
- Pigs in blankets — salty, savoury, and perfect for dipping.
- Green beans or braised cabbage — a little acidity cuts through the richness.
Expert Tips for Making the Best Jamie Oliver Make-Ahead Turkey Gravy
These are the details that quietly separate good gravy from great.
- Dry the wings properly — moisture is the enemy of browning, so pat them thoroughly with paper towels for a deeper crust.
- Don’t crowd the pan — spread wings and veg in a single layer, or they’ll steam instead of caramelise.
- Scrape every browned bit — those crusty bits are concentrated flavour. Use a wooden spoon to lift them all.
- Cook the roux to pale golden — stop at that point; darker means a nuttier but potentially bitter gravy.
- Whisk in broth a splash at a time — dumping it all in at once causes lumps no amount of whisking will fix.
- Season at the very end — after reducing and thickening, the salt level changes, so taste before you add more.
- Strain twice for a silkier finish — a second pass through the sieve after reheating gives a restaurant-smooth texture.
Easy Variations of Jamie Oliver Make-Ahead Turkey Gravy
Once you’ve nailed the base, these small tweaks are worth trying.
- White wine lift — swap 1/2 cup of the water for dry white wine and reduce it into the deglazing step.
- Herb-forward version — add a sprig of rosemary or sage alongside the thyme for a more aromatic finish.
- Mushroom depth — sauté a handful of sliced mushrooms with the vegetables for an earthier gravy.
- Extra glossy finish — whisk a knob more cold butter into the finished gravy off the heat.
- Gluten-free swap — use cornflour or a gluten-free flour blend in the roux, whisking a little more to prevent lumps.
- Make it a sauce — add a spoonful of cranberry sauce at the end for a sweet-sharp edge that suits turkey.
Best Practices to Store Jamie Oliver Make-Ahead Turkey Gravy
Storage is where this recipe earns its “make-ahead” name.
- Airtight container in the fridge — let the gravy cool fully first, then keep up to 3 days; it thickens as it chills.
- Freezer bags or tubs — portion into flat bags or small tubs and freeze up to 3 months; flat bags thaw faster.
- Ice cube tray — freeze in cubes for small servings, then pop out and bag once solid.
- Layered with cling film — press film directly onto the surface before sealing to stop a skin forming.
- Label everything — date the container; a three-month-old tub loses track of itself fast.
Best Practices to Reheat Jamie Oliver Make-Ahead Turkey Gravy
Reheating is gentle work — you’re warming, not cooking.
- Saucepan on the hob — medium-low heat, whisking occasionally, until hot. If it’s thickened too much, add a splash of water.
- Microwave in short bursts — 30-second intervals on medium, stirring between each, so the edges don’t overheat.
- Oven-safe dish — for a crowd, warm it covered at a low heat alongside the turkey, but stir every so often.
- Thaw overnight first — never reheat from frozen in a pan; the outside will scorch before the middle thaws.
How Can I Make Jamie Oliver Make-Ahead Turkey Gravy Healthier?
It’s a sauce, not a salad, but a few swaps lighten it without gutting the flavour.
- Reduce the butter — cut to 1 tbsp and use a lightly oiled pan for the roux; you’ll save roughly 100 calories across the batch.
- Skim the fat — chill the strained broth, then lift off the congealed fat before making the roux.
- Use skinless wings — less fat renders into the pan, and the vegetables still caramelise properly.
- Low-sodium throughout — sticking to low-sodium broth keeps the salt at 520mg per serving, which is already reasonable.
- Water over extra broth — topping up with water instead of more broth stretches the gravy without adding salt.
Nutrition Value (per serving)
Based on 1 serving out of 4 total.
- Calories — 280
- Protein — 20g
- Fat — 17g
- Saturated Fat — around 5g
- Carbohydrates — 11g
- Fibre — 1g
- Sugar — 2g
- Sodium — 520mg
- Cholesterol — roughly 65mg
FAQs
Can I freeze Jamie Oliver Make-Ahead Turkey Gravy?
Yes, and it freezes well for up to 3 months. Cool it completely, then store in an airtight container or freezer bag, leaving a little headroom for expansion. Thaw overnight in the fridge before reheating.
How long does Jamie Oliver Make-Ahead Turkey Gravy last in the fridge?
Up to 3 days in an airtight container. Let it cool fully before sealing — trapping steam inside encourages spoilage and dilutes the flavour.
Why did my gravy turn out lumpy?
Usually it’s broth added too fast, or the roux wasn’t whisked smooth before the liquid went in. Add broth 1/2 cup at a time and whisk constantly; if lumps still form, strain the gravy once more.
Can I use pan drippings from the roasted turkey instead of wings?
You can, but the wings give a more consistent, deeper flavour. Drippings alone are usually too salty and fatty, so most cooks blend the two — make the wing base ahead, then whisk in a little defatted dripping at the end.
How do I fix gravy that’s too thick or too thin?
Too thick — whisk in a splash of water or broth. Too thin — simmer over medium heat for a few more minutes until it coats the back of a spoon. Both fixes take under two minutes.
Do I need to peel the garlic cloves?
No. Roasting unpeeled keeps them sweet and prevents burning. The skins get strained out anyway, so peeling is just wasted effort.
Final Words
Make Jamie Oliver Make-Ahead Turkey Gravy once and the holiday kitchen suddenly feels calmer — the sauce is done, waiting in the fridge, and the day belongs to the bird. It’s a small bit of forethought that pays off in flavour and stress. Give it a go this season.
PrintJamie Oliver Make-Ahead Turkey Gravy
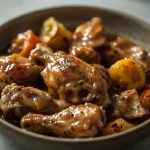
A rich, savory turkey gravy that can be prepared days in advance, freeing up time on the big day. Roasted turkey wings and vegetables build deep flavor, while a simple roux thickens it to a silky, lump-free consistency. Perfect for Thanksgiving or any holiday feast.
- Prep Time: 20
- Cook Time: 90
- Total Time: 110
- Yield: 4 1x
- Category: Side Dish
- Method: Stovetop
- Cuisine: British
Ingredients
- 2 lb turkey wings (about 2 whole wings)
- 1 tbsp olive oil
- 1 medium onion, roughly chopped
- carrots, roughly chopped
- 2 celery stalks, roughly chopped
- 4 garlic cloves, unpeeled
- 2 tbsp all-purpose flour
- 4 cups low-sodium chicken broth
- 2 cups water
- 2 sprigs fresh thyme
- 1 bay leaf
- 1/2 tsp kosher salt
- 1/4 tsp freshly ground black pepper
- 2 tbsp unsalted butter, cold, cut into cubes
Instructions
- Preheat oven to 400°F (204°C). Pat the turkey wings dry with paper towels and season generously with kosher salt and black pepper.
- In a large roasting pan, toss the chopped onion, carrots, celery, and garlic with olive oil. Place the turkey wings on top of the vegetables.
- Roast for 45–50 minutes, until the wings are golden brown and the vegetables are caramelized and tender. Turn the wings once halfway through.
- Transfer the roasted wings and vegetables to a large stockpot. Pour 1 cup of the chicken broth into the hot roasting pan and scrape up any browned bits with a wooden spoon. Add this liquid to the pot.
- Add the remaining chicken broth, water, thyme sprigs, and bay leaf to the pot. Bring to a boil over high heat, then reduce heat to low and simmer, uncovered, for 30 minutes to develop flavor.
- Strain the mixture through a fine-mesh sieve into a large bowl, pressing on the solids to extract as much liquid as possible. Discard the solids. You should have about 5 cups of broth.
- In a clean saucepan, melt the butter over medium heat. Whisk in the flour and cook, whisking constantly, for 1–2 minutes, until the roux is pale golden and smells nutty.
- Gradually whisk in the strained broth, about 1/2 cup at a time, until smooth. Bring to a simmer and cook, whisking occasionally, for 5–7 minutes, until the gravy thickens to a consistency that coats the back of a spoon.
- Season with salt and pepper to taste. If the gravy is too thick, thin with a splash of water or broth. If too thin, simmer a few minutes longer.
- Remove from heat and let cool completely. Transfer to an airtight container and refrigerate for up to 3 days, or freeze for up to 3 months.
- To serve, reheat the gravy in a saucepan over medium-low heat, whisking until smooth and hot. If frozen, thaw overnight in the refrigerator before reheating.
Notes
Storage: Keep in an airtight container in the refrigerator for up to 3 days, or freeze for up to 3 months. Reheating: Thaw frozen gravy overnight in the refrigerator. Reheat in a saucepan over medium-low heat, whisking occasionally, until heated through. If the gravy has thickened too much, whisk in a little water or broth to reach desired consistency. Make it ahead: This gravy can be made up to 3 days before serving, making holiday cooking easier. For a smoother texture, strain the gravy again after reheating.
Nutrition
- Calories: 280
- Sugar: 2g
- Sodium: 520mg
- Unsaturated Fat: 6g
- Carbohydrates: 11g
- Fiber: 1g
- Protein: 20g
- Cholesterol: 60mg
Keywords: make-ahead turkey gravy, turkey gravy recipe, homemade gravy, Thanksgiving gravy, Jamie Oliver gravy, turkey wing gravy, easy gravy, holiday gravy, gravy from scratch, British gravy, Christmas gravy, make ahead gravy